Events & Sub-Events
After doing the First time set-up and authentication
You will start with creating the main event, the main event is the parent event in case there are multiple sub-events. If not, the main event will also be the sub-event.
Navigate to “GoMeddo Events” using the App Launcher
Create new Main event
Event details:
Give the event a Name
Give the event a Event Url Suffix to create the event url, for example http://events.gomeddo.com/hollanduniversity/openday
The event url suffix is “openday”Enter the Contact Email, if visitors will reply to the ticket email, they will be sent to this emailadress
Enter the Email signature, this will be the signature in the email of the tickets.
Privacy statement, will provide a link to the privacy statement applicable to this event (url field)
Terms & Conditions, will provide a link to the terms and conditions applicable to this event (url field)
Description, here you can enter the description of the main event.
Location, here you can add the location of the event.
Capacity, this will be the capacity of the main event, it’s not possible to book more tickets then this number
Visitor fieldset, the visitor object can be extended with more fields, putting the name of the visitor fieldset will extent the “visitor form” when booking a ticket. Extending the visitor information and form
Use custom email template, this settings allows you to disable the standard email and pdf creation.
Event dates
Start: This is the date & time when the event actually takes place
End: This is the date & time when the event actually ends
Visible from: This is the date & time when the event is visible to book (empty is always visible)
Visible untill: This is the date & time when the event is visible to book (empty is always visible)
Styling
Frontend-view, here you can determine if your visitors will select tickets or events.
Ticket view

Event view
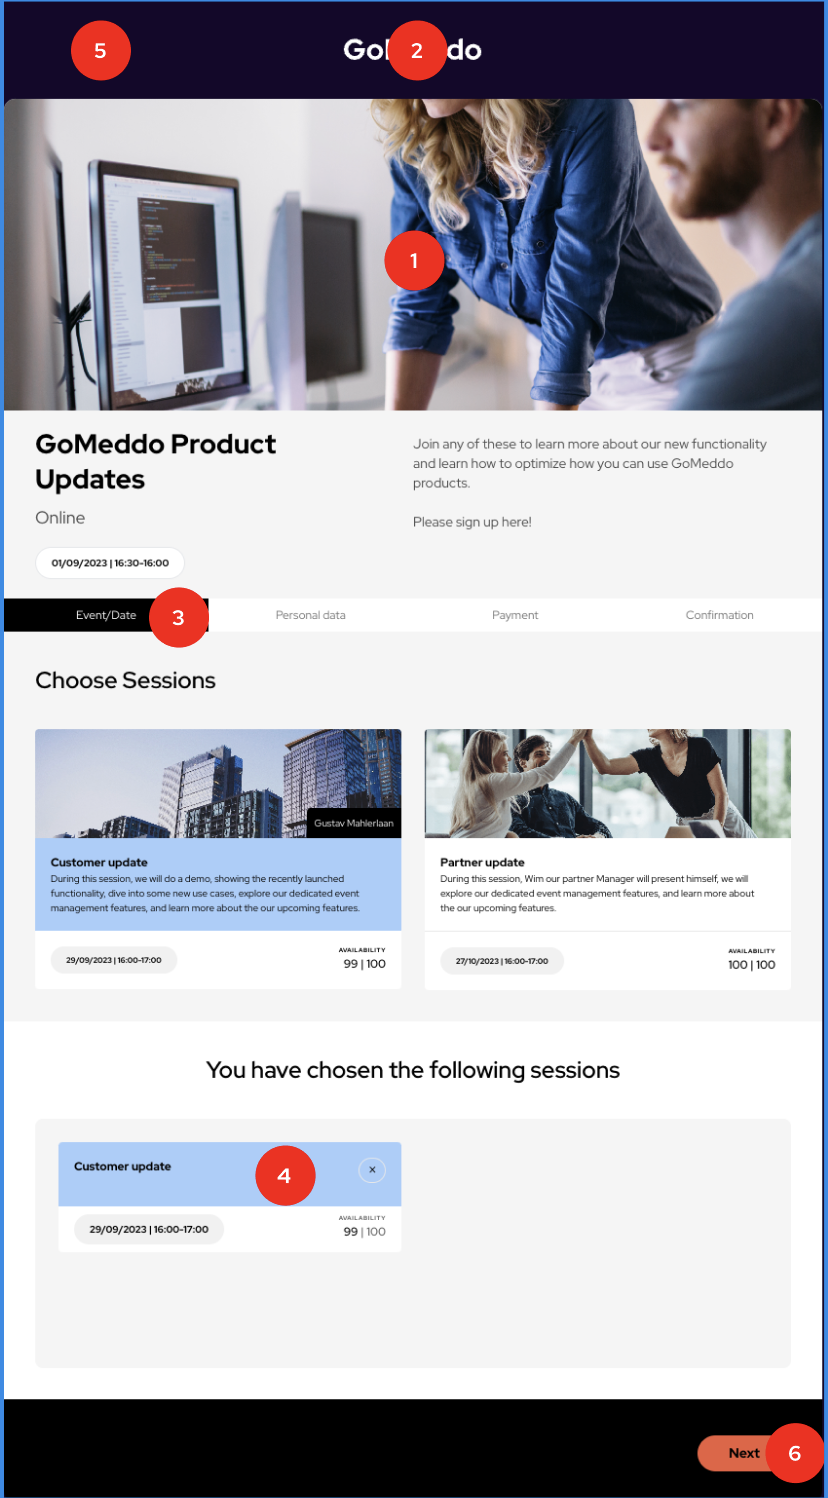
See the picture and the corresponding numbers below to see how you can adjust and whitelabel the event to you style.
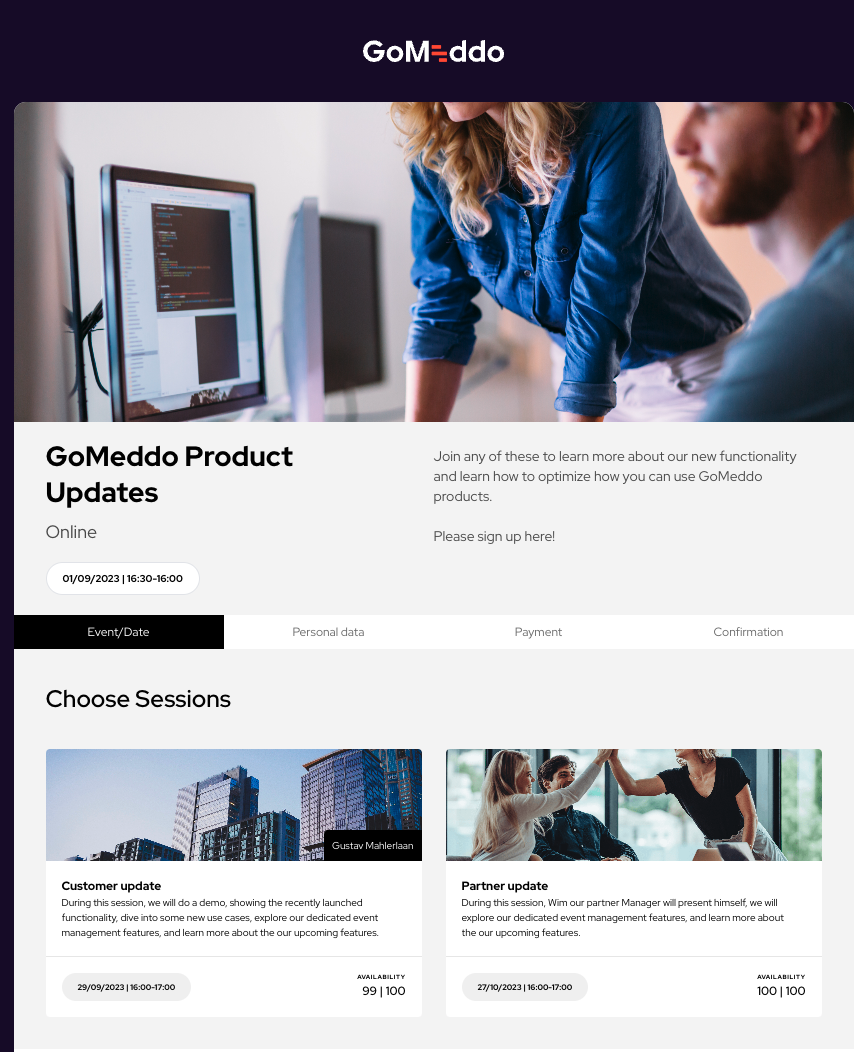
Image, here you can add a url to an image specific for this main-event. This will be shown on the website and tickets to visualize the main event
Icon, here you can add a url to an icon for this event, this will be shown on top of the page and will be your main events “branding
Completed State Color, here you can specify a hex code which will determine the color of the “allready completed” steps.
Selection Color, here you can specify a hex code which will determine the color of the “selected events” on the website
Background color, here you can specify a hex code which will determine the background of the website.
Call to action color, here you can specify a hex code which will determine the color of the “action buttons”
Create sub-event (session)
If your event also has sessions or sub-events which can be booked, you can create those in a similiar way to a main event. Go to “related” as part of the main event, and create new sub-event.
Event details
Parent Event:
Name
Description
Capacity
Event dates
Start: This is the date & time when the event actually takes place
End: This is the date & time when the event actually ends
Visible from: This is the date & time when the event is visible to book
Visible untill: This is the date & time when the event is visible to book
Styling
Image, here you can add a url to an image specific for this sub-event. This will be shown on the website and tickets to visualize the subevent as a card