Set up and configure a single resource calendar
In order keep configuration simple, please perform the following steps in Salesforce Classic (GoMeddo is Lightning-Ready, you may afterwards use the app in Salesforce Lightning as you please)
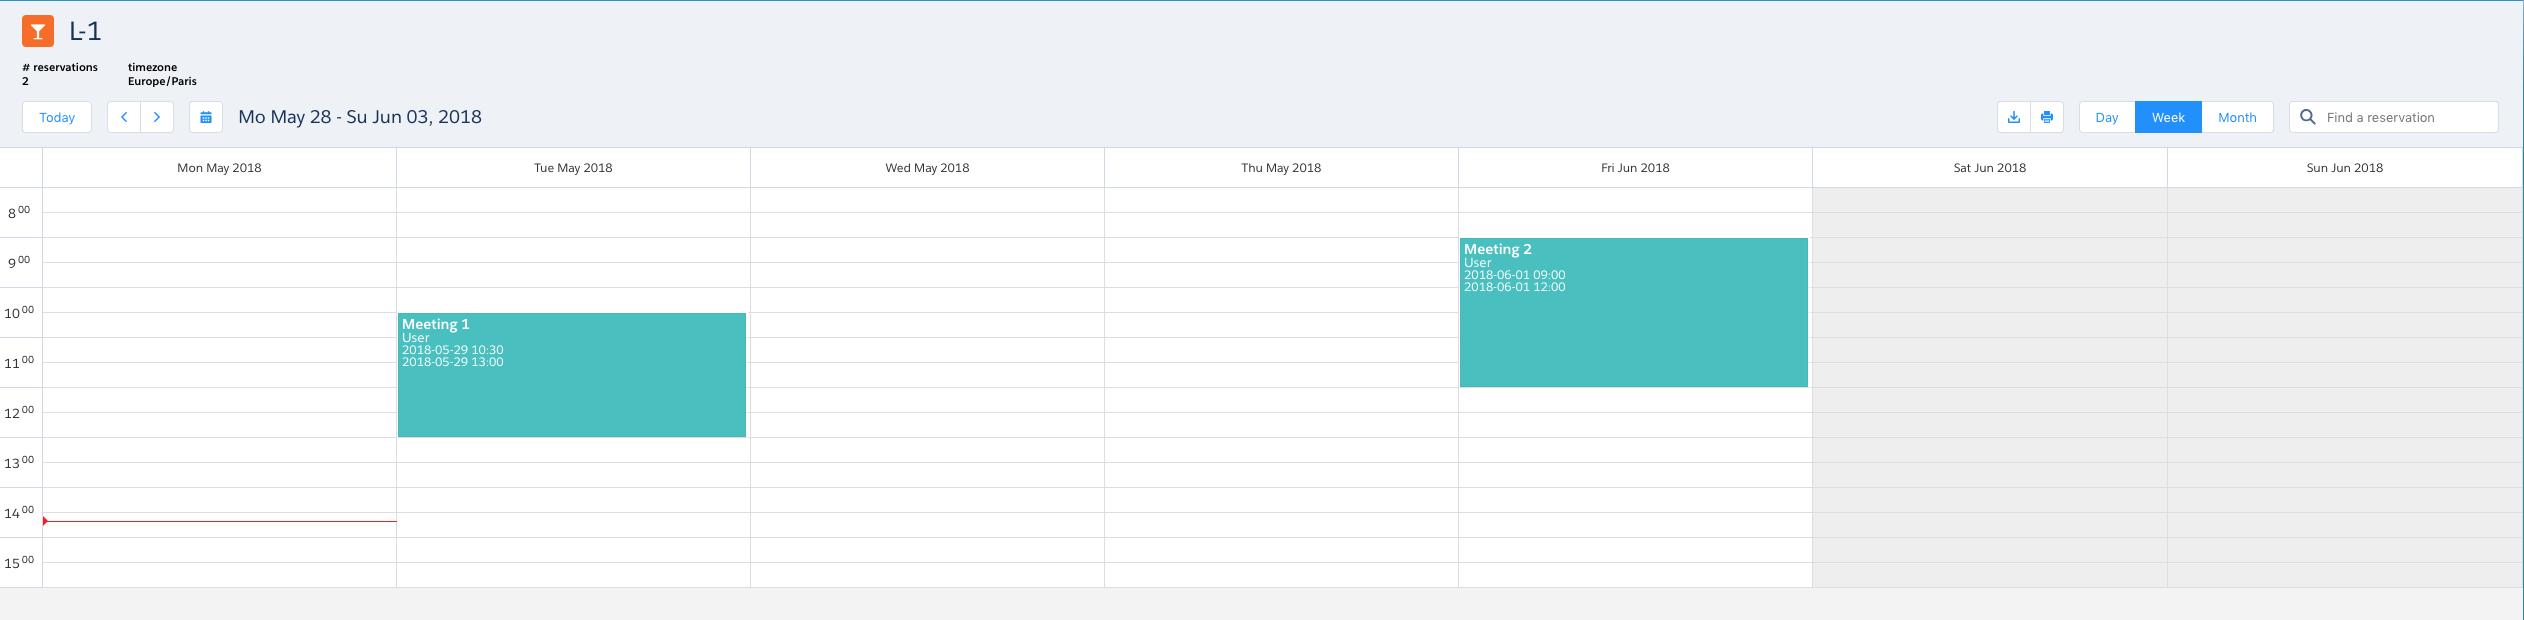
If you want to display a single Resource in more detail, or are only interested in one Resource and want the calendar to not load any unnecessary data, the Single Resource Calendar is a good choice. A Single Resource Calendar shows one Resource in a view that allows for a more detailed view of the resource.
Single resource calendar example
Make sure to enable the following Record Types on your Profiles and Permission Sets:
Calendar | Single Resource Calendar Multi Resource Calendar |
|---|---|
(Reservation) Titles | Reservation Title Resource Title |
Views | Single Resource Calendar View Multi Resource Calendar View |
Create a Tab to make your Calendar accessible
If you haven't done so already, follow step 2 in Create a Calendar page for any object. This will make the Calendar accessible in a tab for yourself and your users.
Edit an existing Single Resource Calendar record
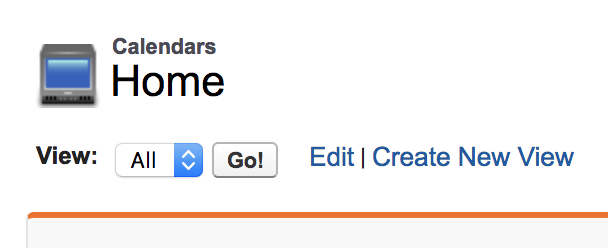
Go to the Calendars tab
Click Go! next to All
Select Single Resource Calendar record you want to edit (the name starts with Single)
Edit the fields according to the following information: Calendar record fields
Edit an existing view
Go to the Views tab in the menu bar
Click on Go! next to All
Select the Single Resource Calendar View record you want to edit
Enter the desired view configuration according to the view record fields section
Setting up a Hover for Reservations on the calendar
GoMeddo allows you to define a popup window that appear at the users cursor when they hover over a reservation on the calendar

Go to the View record for which you want to create a Hover
Scroll down to the Reservation Display related list
Click New
You should now see the following page
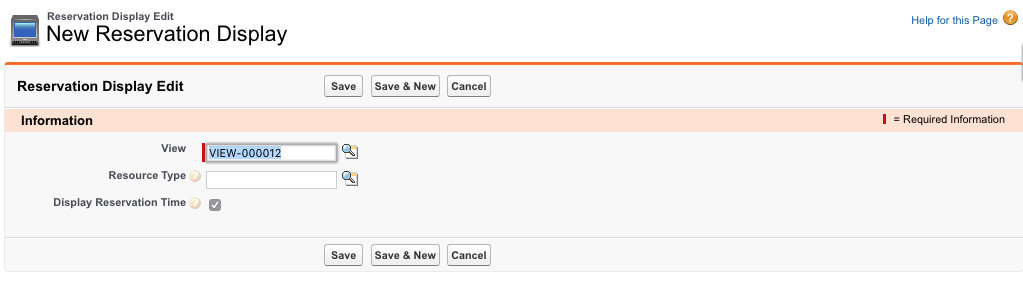
Fill the Resource Type field only if you want to create a Resource Type specific Hover (Display Reservation Time is deprecated and wil be removed in later GoMeddo versions)
Click Save
You should now be on the detail page of the reservation display object. For a detailed explanation of the hover setup see the Add fields and related lists to the hover.
Linking a view to a calendar
If you set up your own Calendar and View records, you need to connect them as follows.
Go to the Calendars tab and select the calendar you want to link to the View.
Scroll down to the Calendar Views related list
Click New Calendar View
You should now see this page
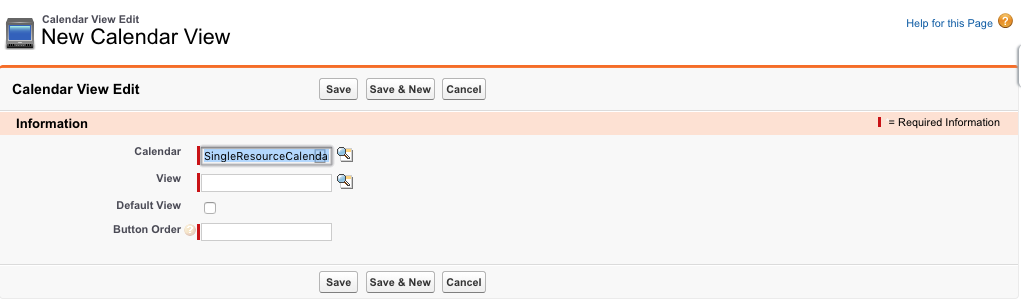
For View, select the View object you want to link to this Calendar
If this view should be selected by default, check Default View. (Only one view should ever by marked as Default. If a different view is already marked as Default, do not forget to uncheck it on that View)
Enter a number to specify the order of this button on the calendar. The buttons on the calendar page are ordered from left to right, from lowest to highest
Click Save
Configuring the reservation colors
For details on reservation colors see Reservation Statuses
More detailed field information
Field name | Description |
|---|---|
calendar Name | The name of the calendar. This name is not used in the ui but is used to identify the calendar. This field has to be one of three values 'SingleResourceCalendar', 'SingleStaffCalendar', |
Reservation Field | GoMeddo has three resource types resource staff and group. Based on what type you want this calendar to display pick either B25__Resource__c, B25__Staff__c or B25__Group__c. |
Reservation Title Field | Deprecated and wil be removed from the page layout in future versions of GoMeddo. Just leave it at the default value. |
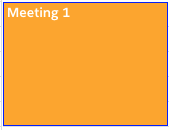
The three fields under default colors specify the color of reservations on this calendar that do not have any more specific reservation color defined using reservation types and status.
Example:
Field name | example value |
|---|---|
Default Text Color | white |
Default Background Color | orange |
Default Border Color | blue |
Results in the following reservation appearance.
Field name | Description |
|---|---|
Title name | The Api name of the field you want to display on the calendar. Starting point for this field is the reservation object. |
Bold | If the value of the field should be made bold on the reservation |
Font Size | The font size the value should appear in on the reservation |
Calendar | The calendar that the title belongs to. |
Order | The order in which the titles should appear on the calendar with lower numbers being first. |
Example of a reservation with various titles with different settings.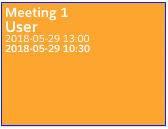
Views records are what specify ways to look at the calendar the available views are shown in the top right corner of the calendar

View fields:
Field name | description |
|---|---|
Slot duration | |
Slot height | |
View duration | |
Day Header Time Format | Specifies the format of the header on the calendar. The format needs to be specified according to these date format options. Example with ddd MMMM yyyy. |
Label | The text displayed in the buttons to switch between views |
Unique Identifier | Unique id for this view. |
Hide Times Without Reservations | Hides all times at the start and end of the day if there are no reservations there. Example calendar with and without the setting enabled. |
Time Range Format | The format for the time range at the top of the calendar. It is posible to specify formats for the start and end date of the calendar. Using start{<formatting tokens>} and end{<formatting tokens>} for the formatting tokens use moment.js formatting tokens (http://momentjs.com/docs/#/displaying/format/). example: start{ddd MMM DD} - end{ddd MMM DD, YYYY} would result in Sat Sep 01 - Mon Oct 01, 2018 |
Hide closed times without reservations | Hides all times where the resource is closed at the start and end of the day if there are no reservations there. Example calendar with and without the setting enabled. |
Time header:
Field name | description |
|---|---|
Time header Width | The width in pixels of the time header. |
Time Header Format | The time format of the sidebar containing the time of day on the Single Resource Calendar. Valid values: Clock12Hours, Clock24Hours, Auto. Auto wil use the users preferred time format set in salesforce. |
Time Header duration | The increments of the time header should divide 60 without a remainder. Should also either divide slot duration or be divided by slot duration without a remainder. |