GoMeddo allows you to sync Dimension records with Outlook calendars through Office365. This article explains how to connect your GoMeddo environment with your Office365 environment.
My domain
In order for the GoMeddo Outlook extension to work, you will need to setup and deploy My Domain to your users. More information on this can be found here
Create Office365 app
In order to connect GoMeddo to your Office365 environment, you wil need to register an Office365 app for GoMeddo.
-
Login to your Office365 environment
-
Navigate to the Admin center
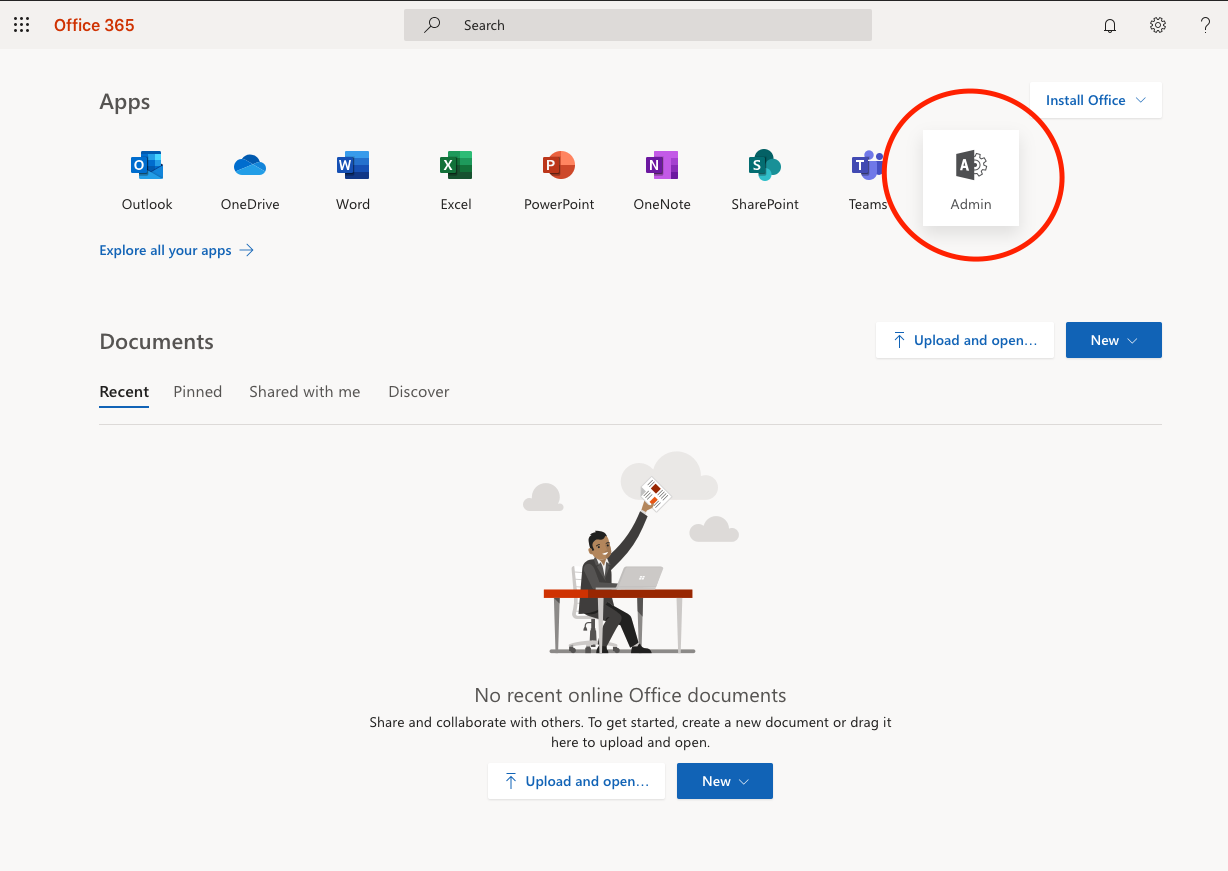
-
From there navigate to the Azure Active Directory Admin Center
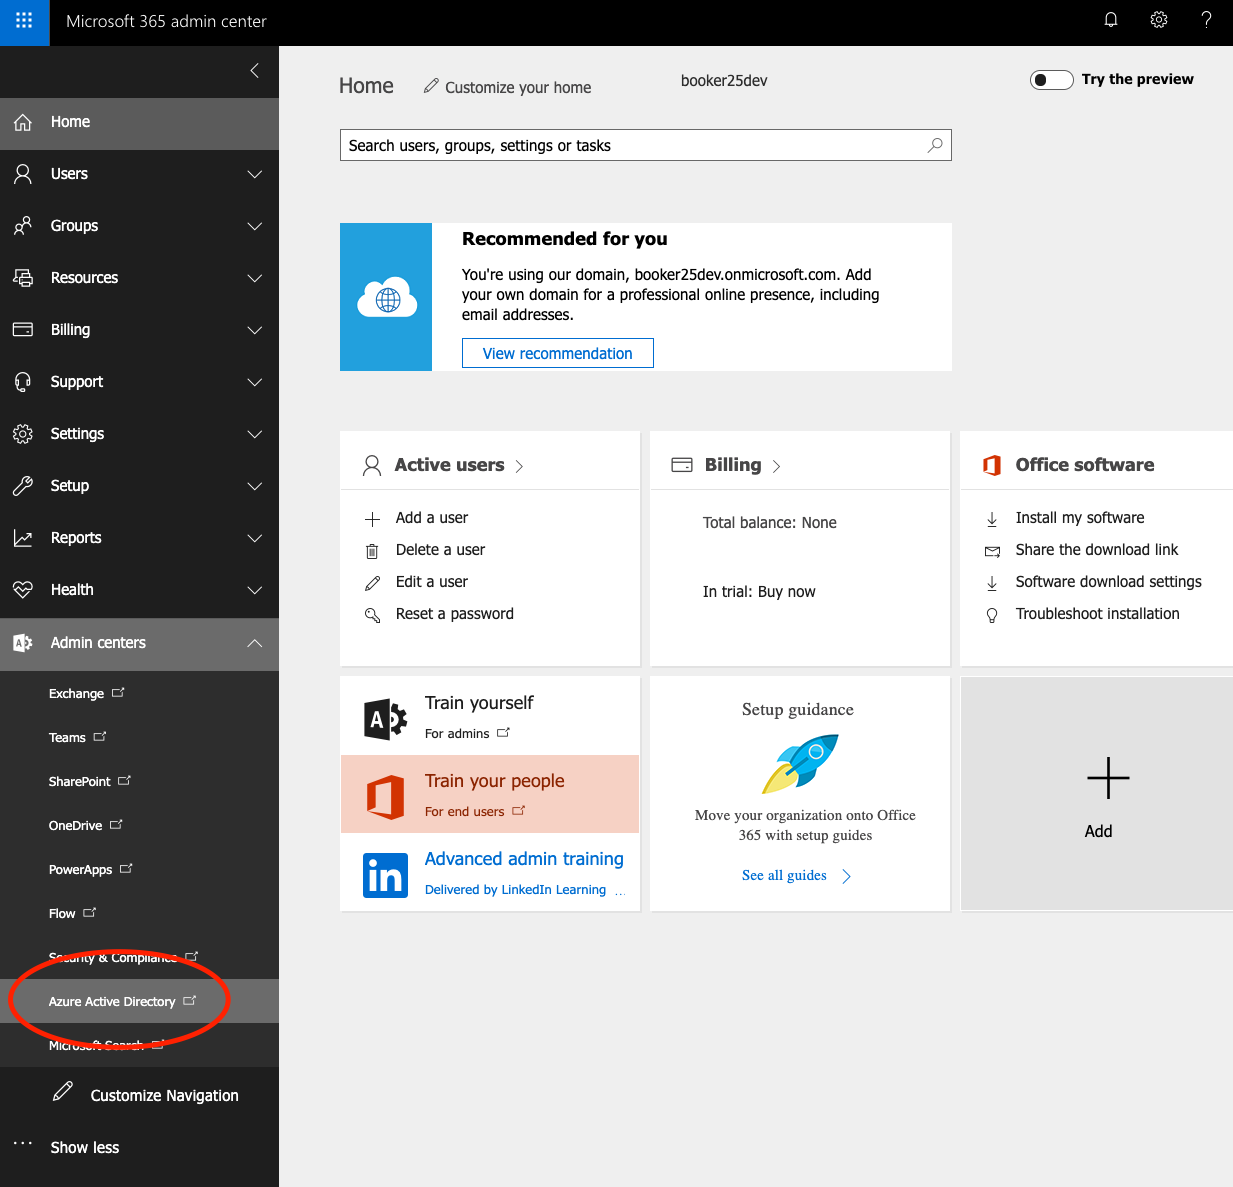
-
Click Azure Active Directory
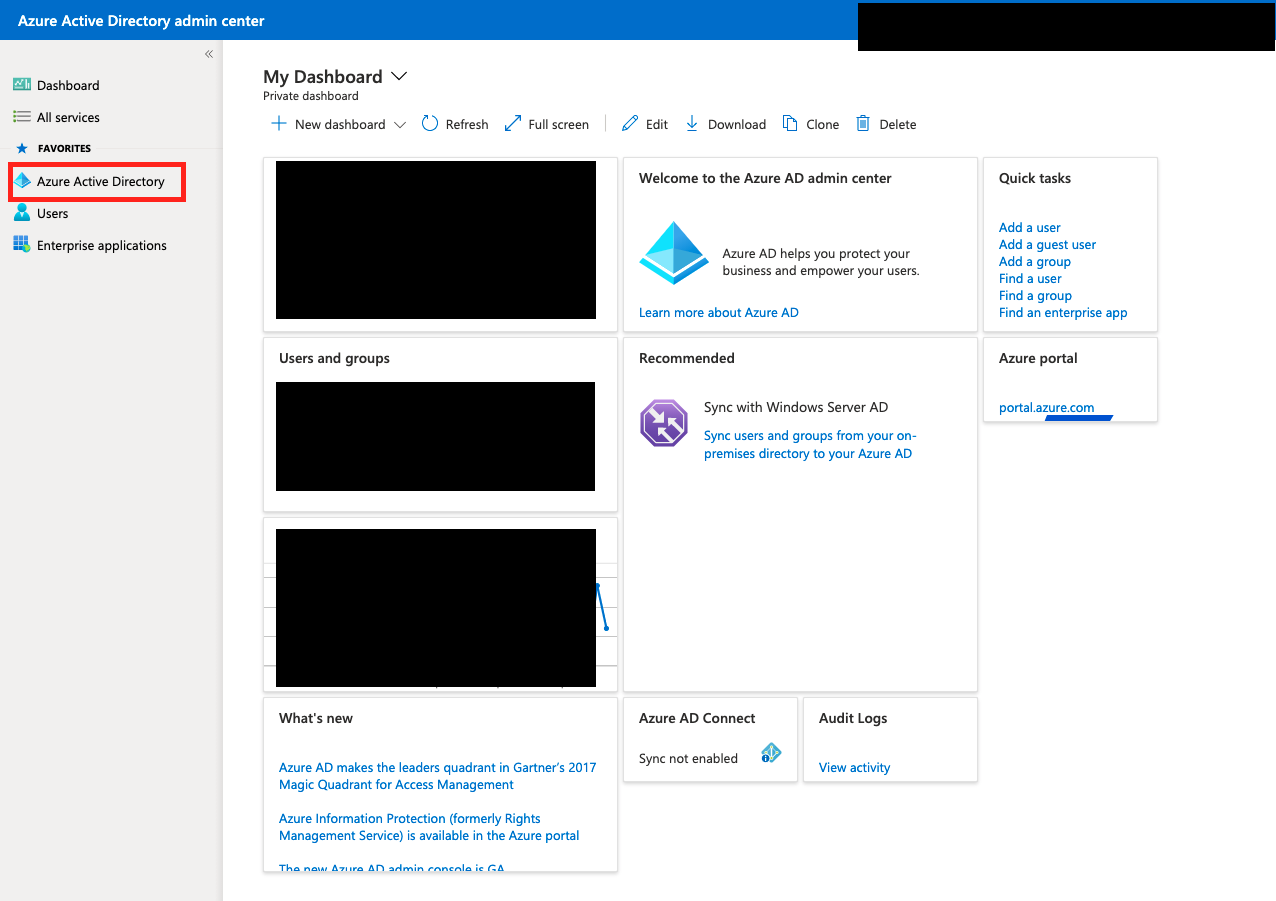
-
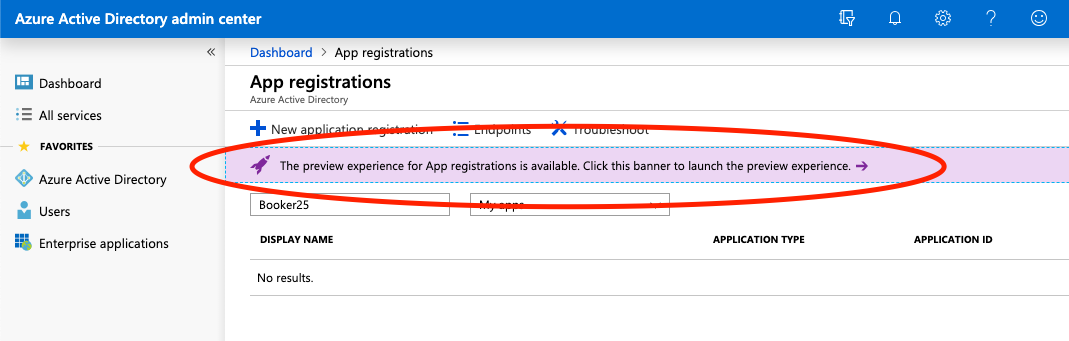
Click on App registrations
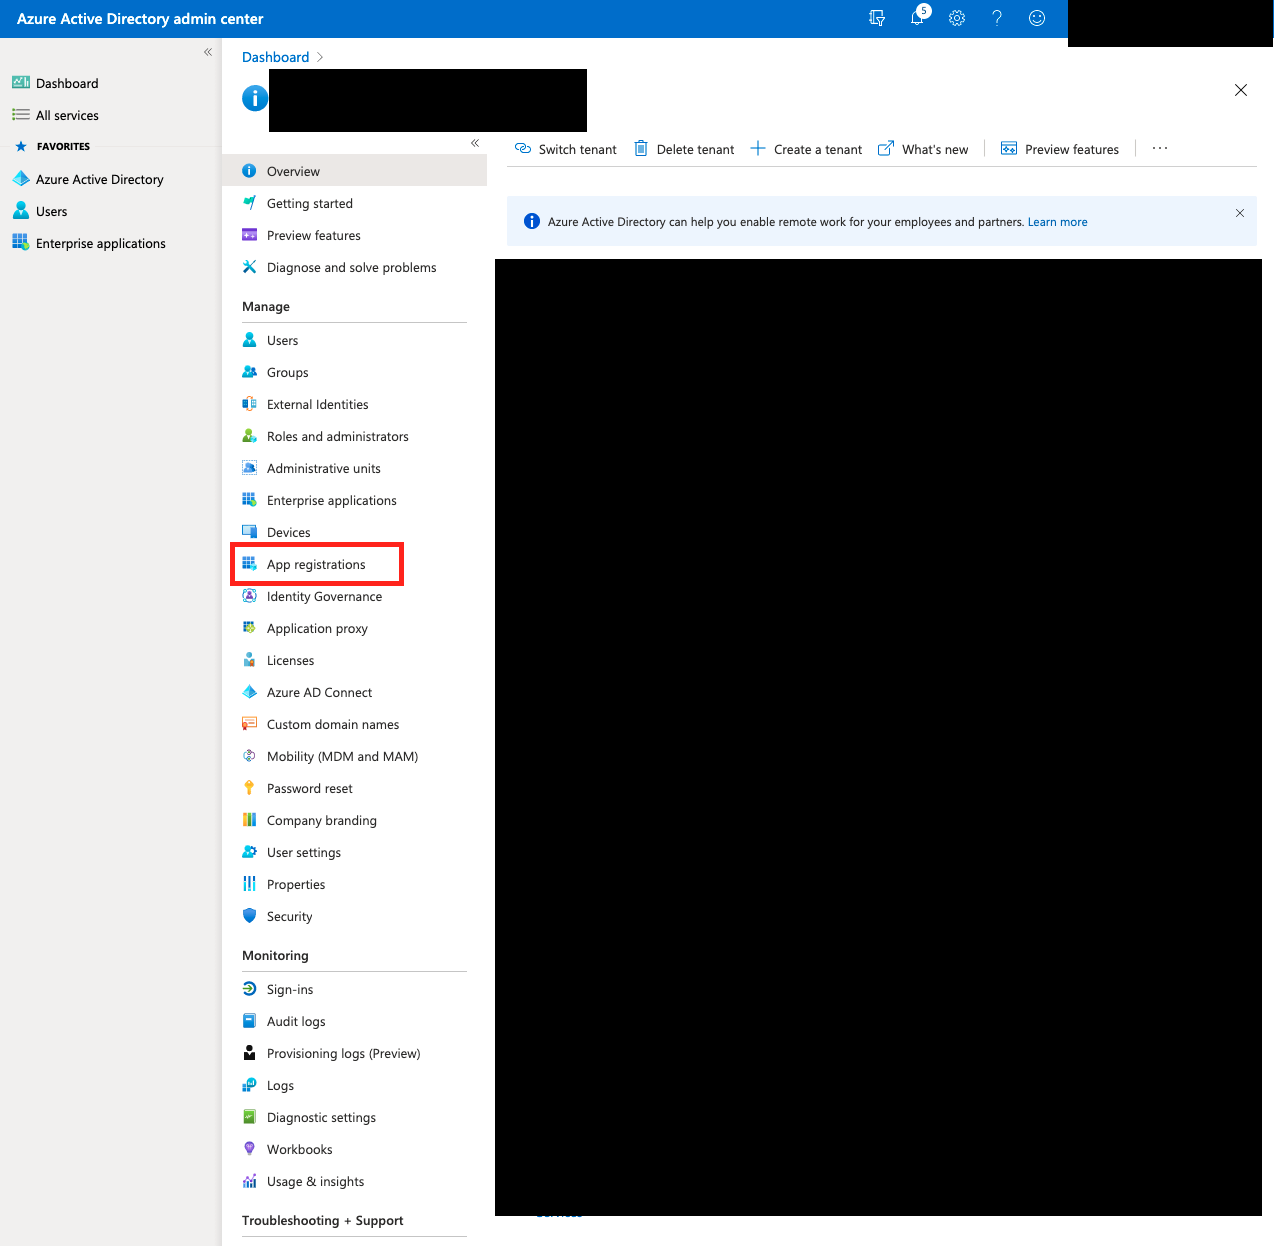
From here we can create a new app registration
-
If you see the pink banner, click on the banner saying 'The preview experience for App registrations is available. Click this banner to launch the preview experience'. Else just proceed as is.
-
Click New registration
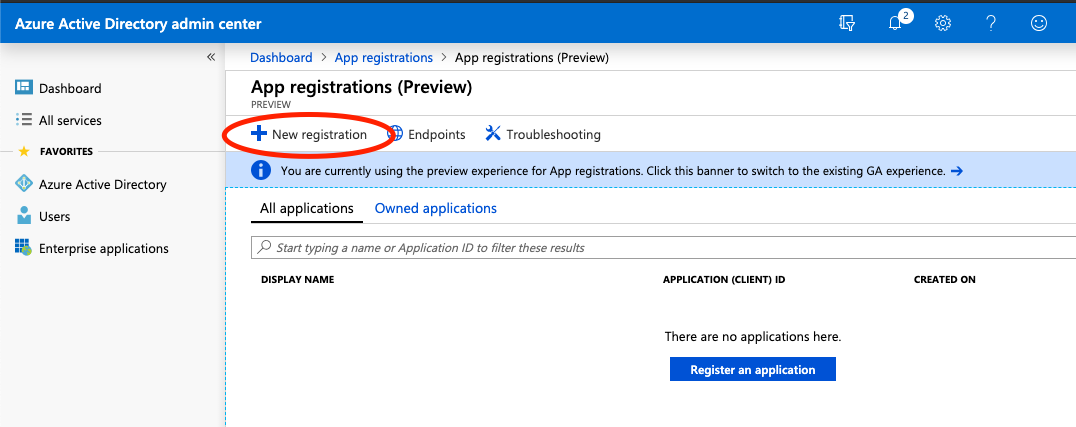
-
Choose a name for the application (for example: GoMeddo)
-
Under Supported account types, leave the default 'Accounts in this organizational directory only (<directory name>)' checked
-
Under Redirect URI (optional), select Web and use https://login.salesforce.com/lightning/n/B25__ClassicSettings as the url for production instances and https://test.salesforce.com/lightning/n/B25__ClassicSettings for sandboxes.
-
Click Register
Set permissions
Office365 permissions
Now we need to set the permissions on this newly created app. GoMeddo needs Read and Write permissions on calendars in your Office65 organisation in order to sync Reservations to and from Outlook calendars.
To set these permissions do the following:
-
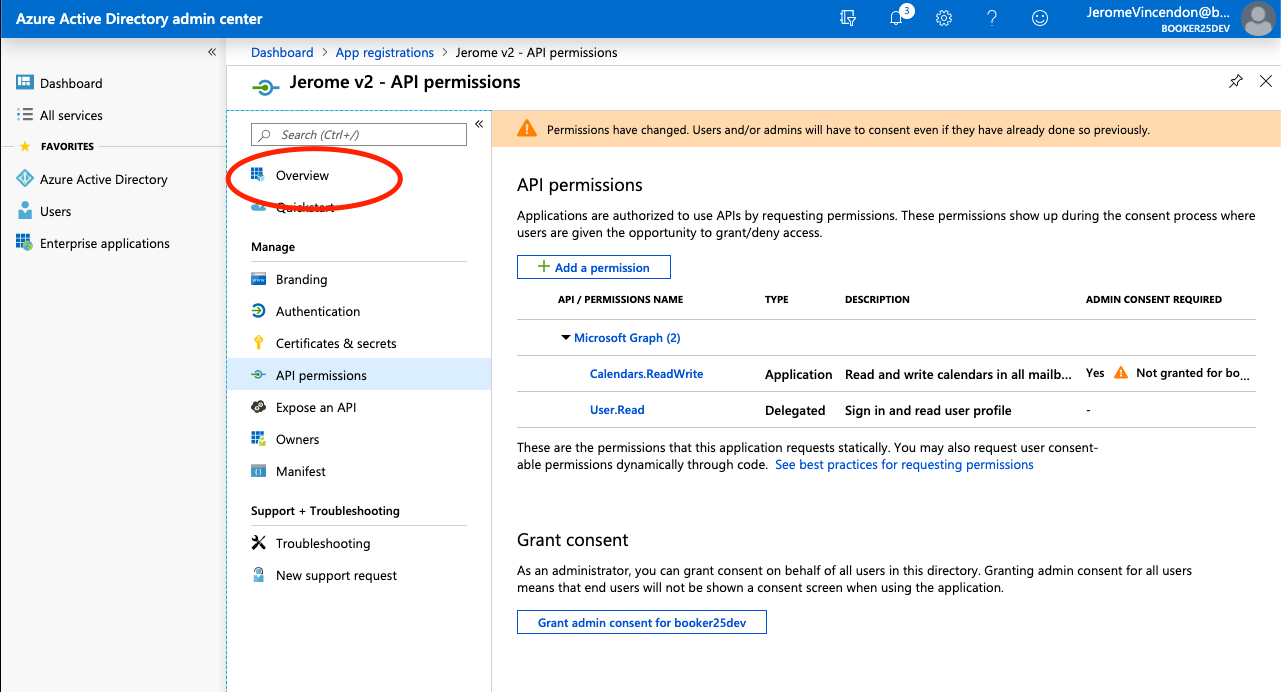
Click the API permissions menu item of the app you just created
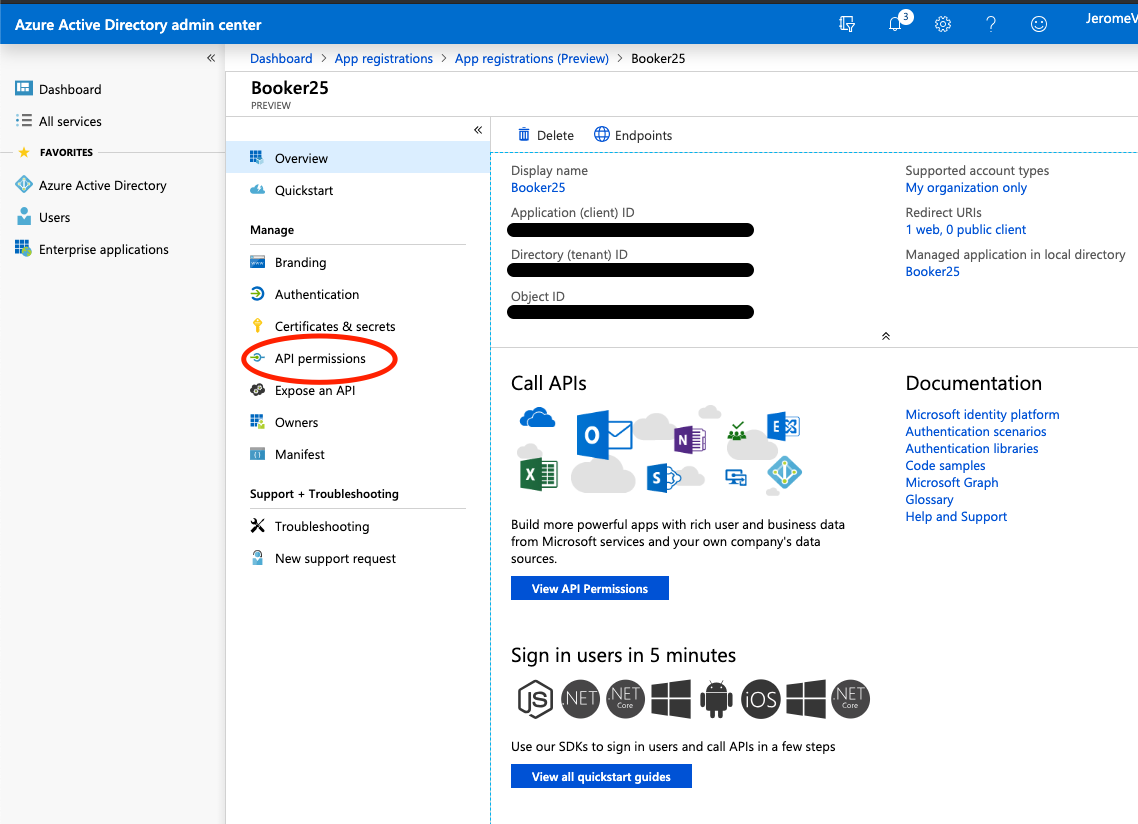
-
Click Add a permission
-
Click Microsoft Graph
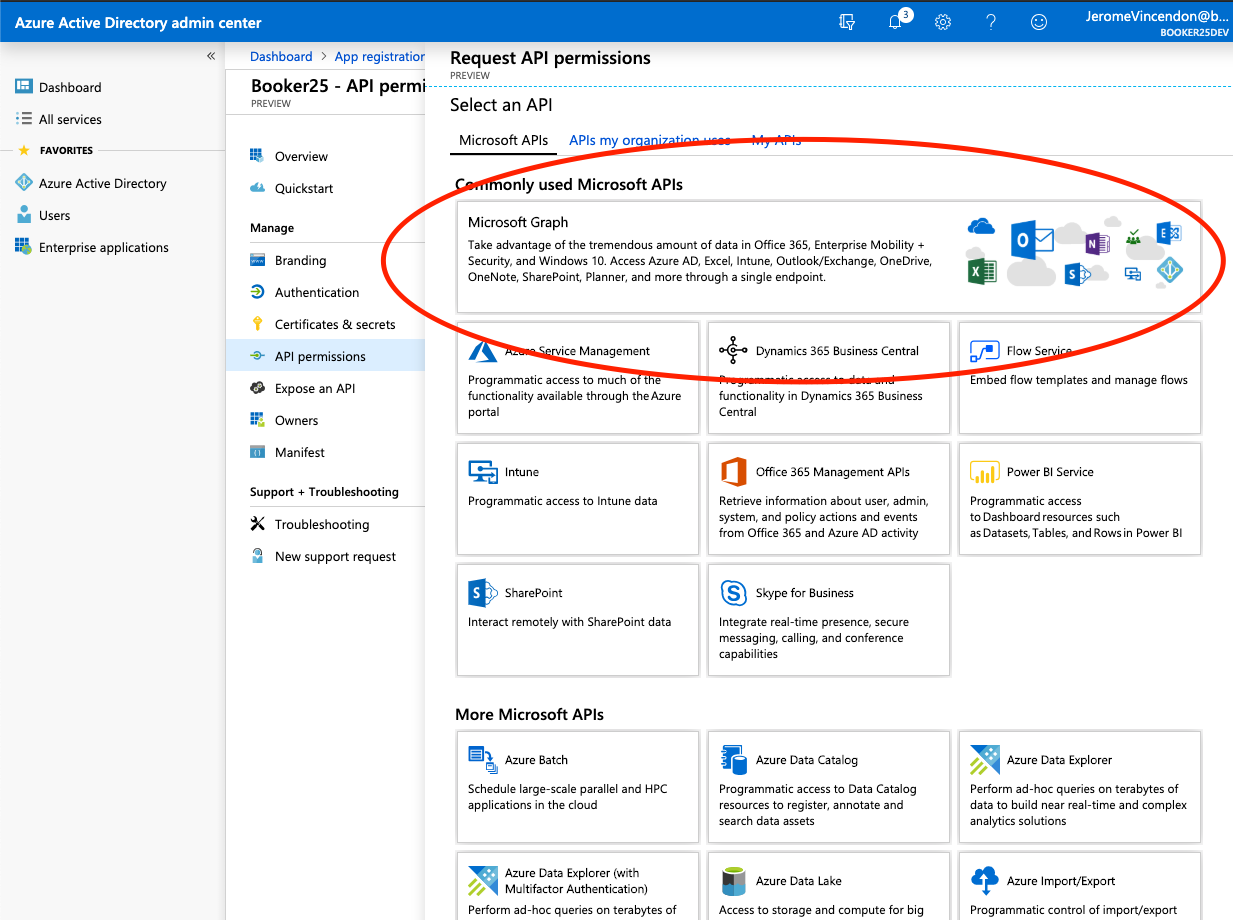
-
Click Application permissions
-
Expand the Calendars section
-
Check the checkbox next to Calendars.ReadWrite
-
Click Add permissions (you can ignore the warnings)
GoMeddo permissions
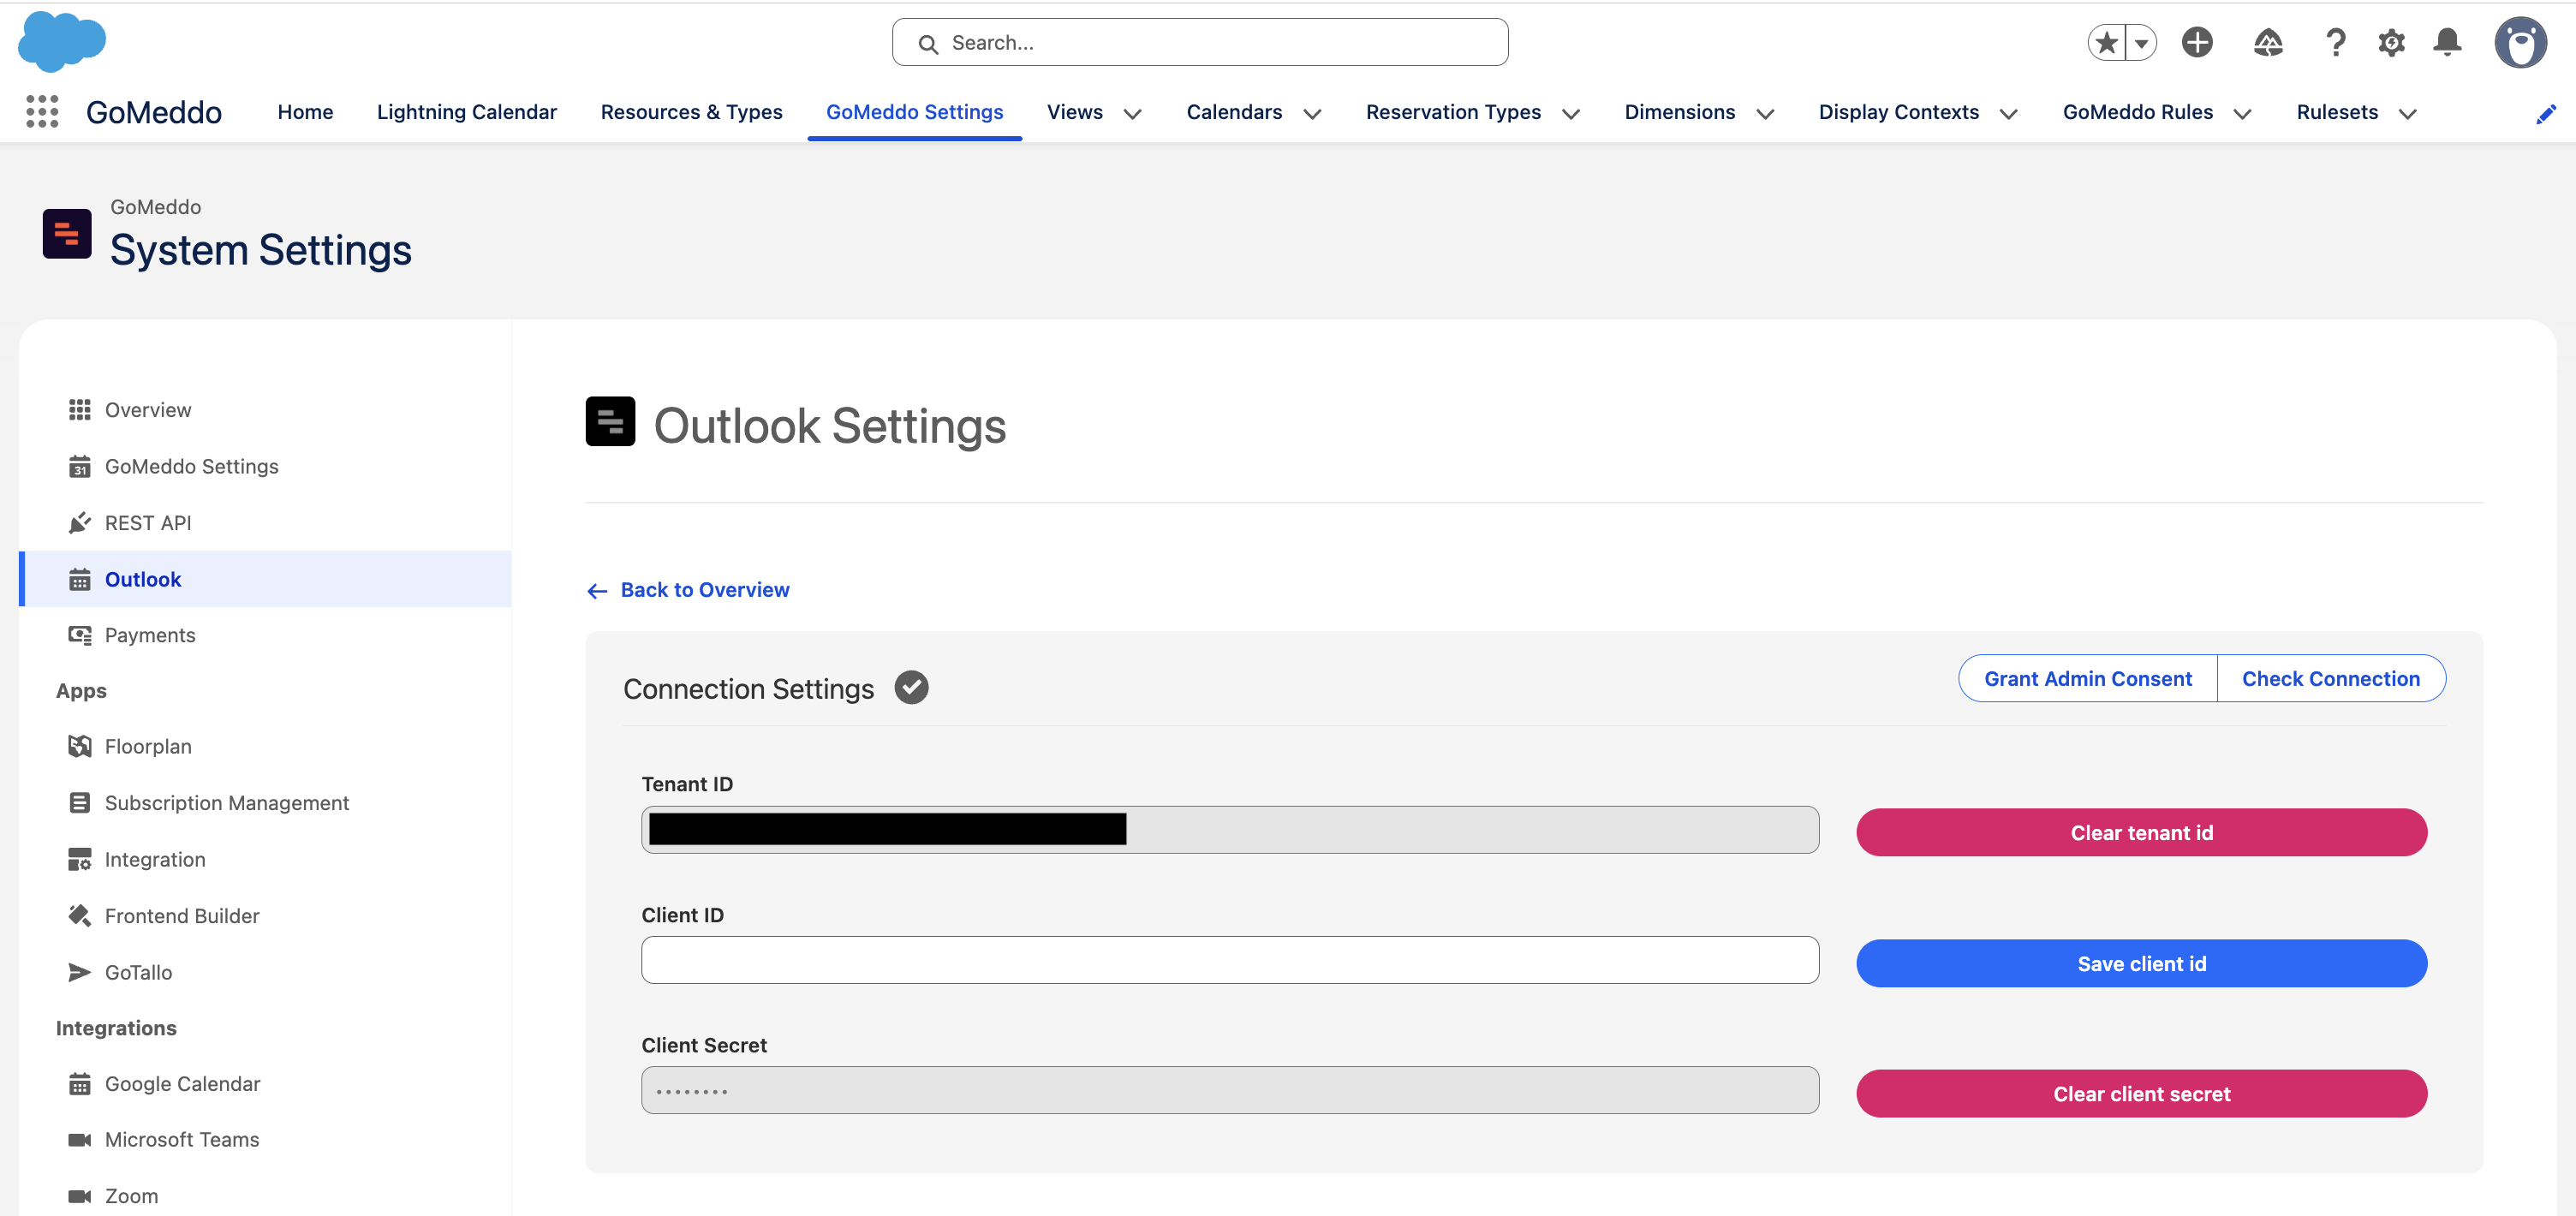
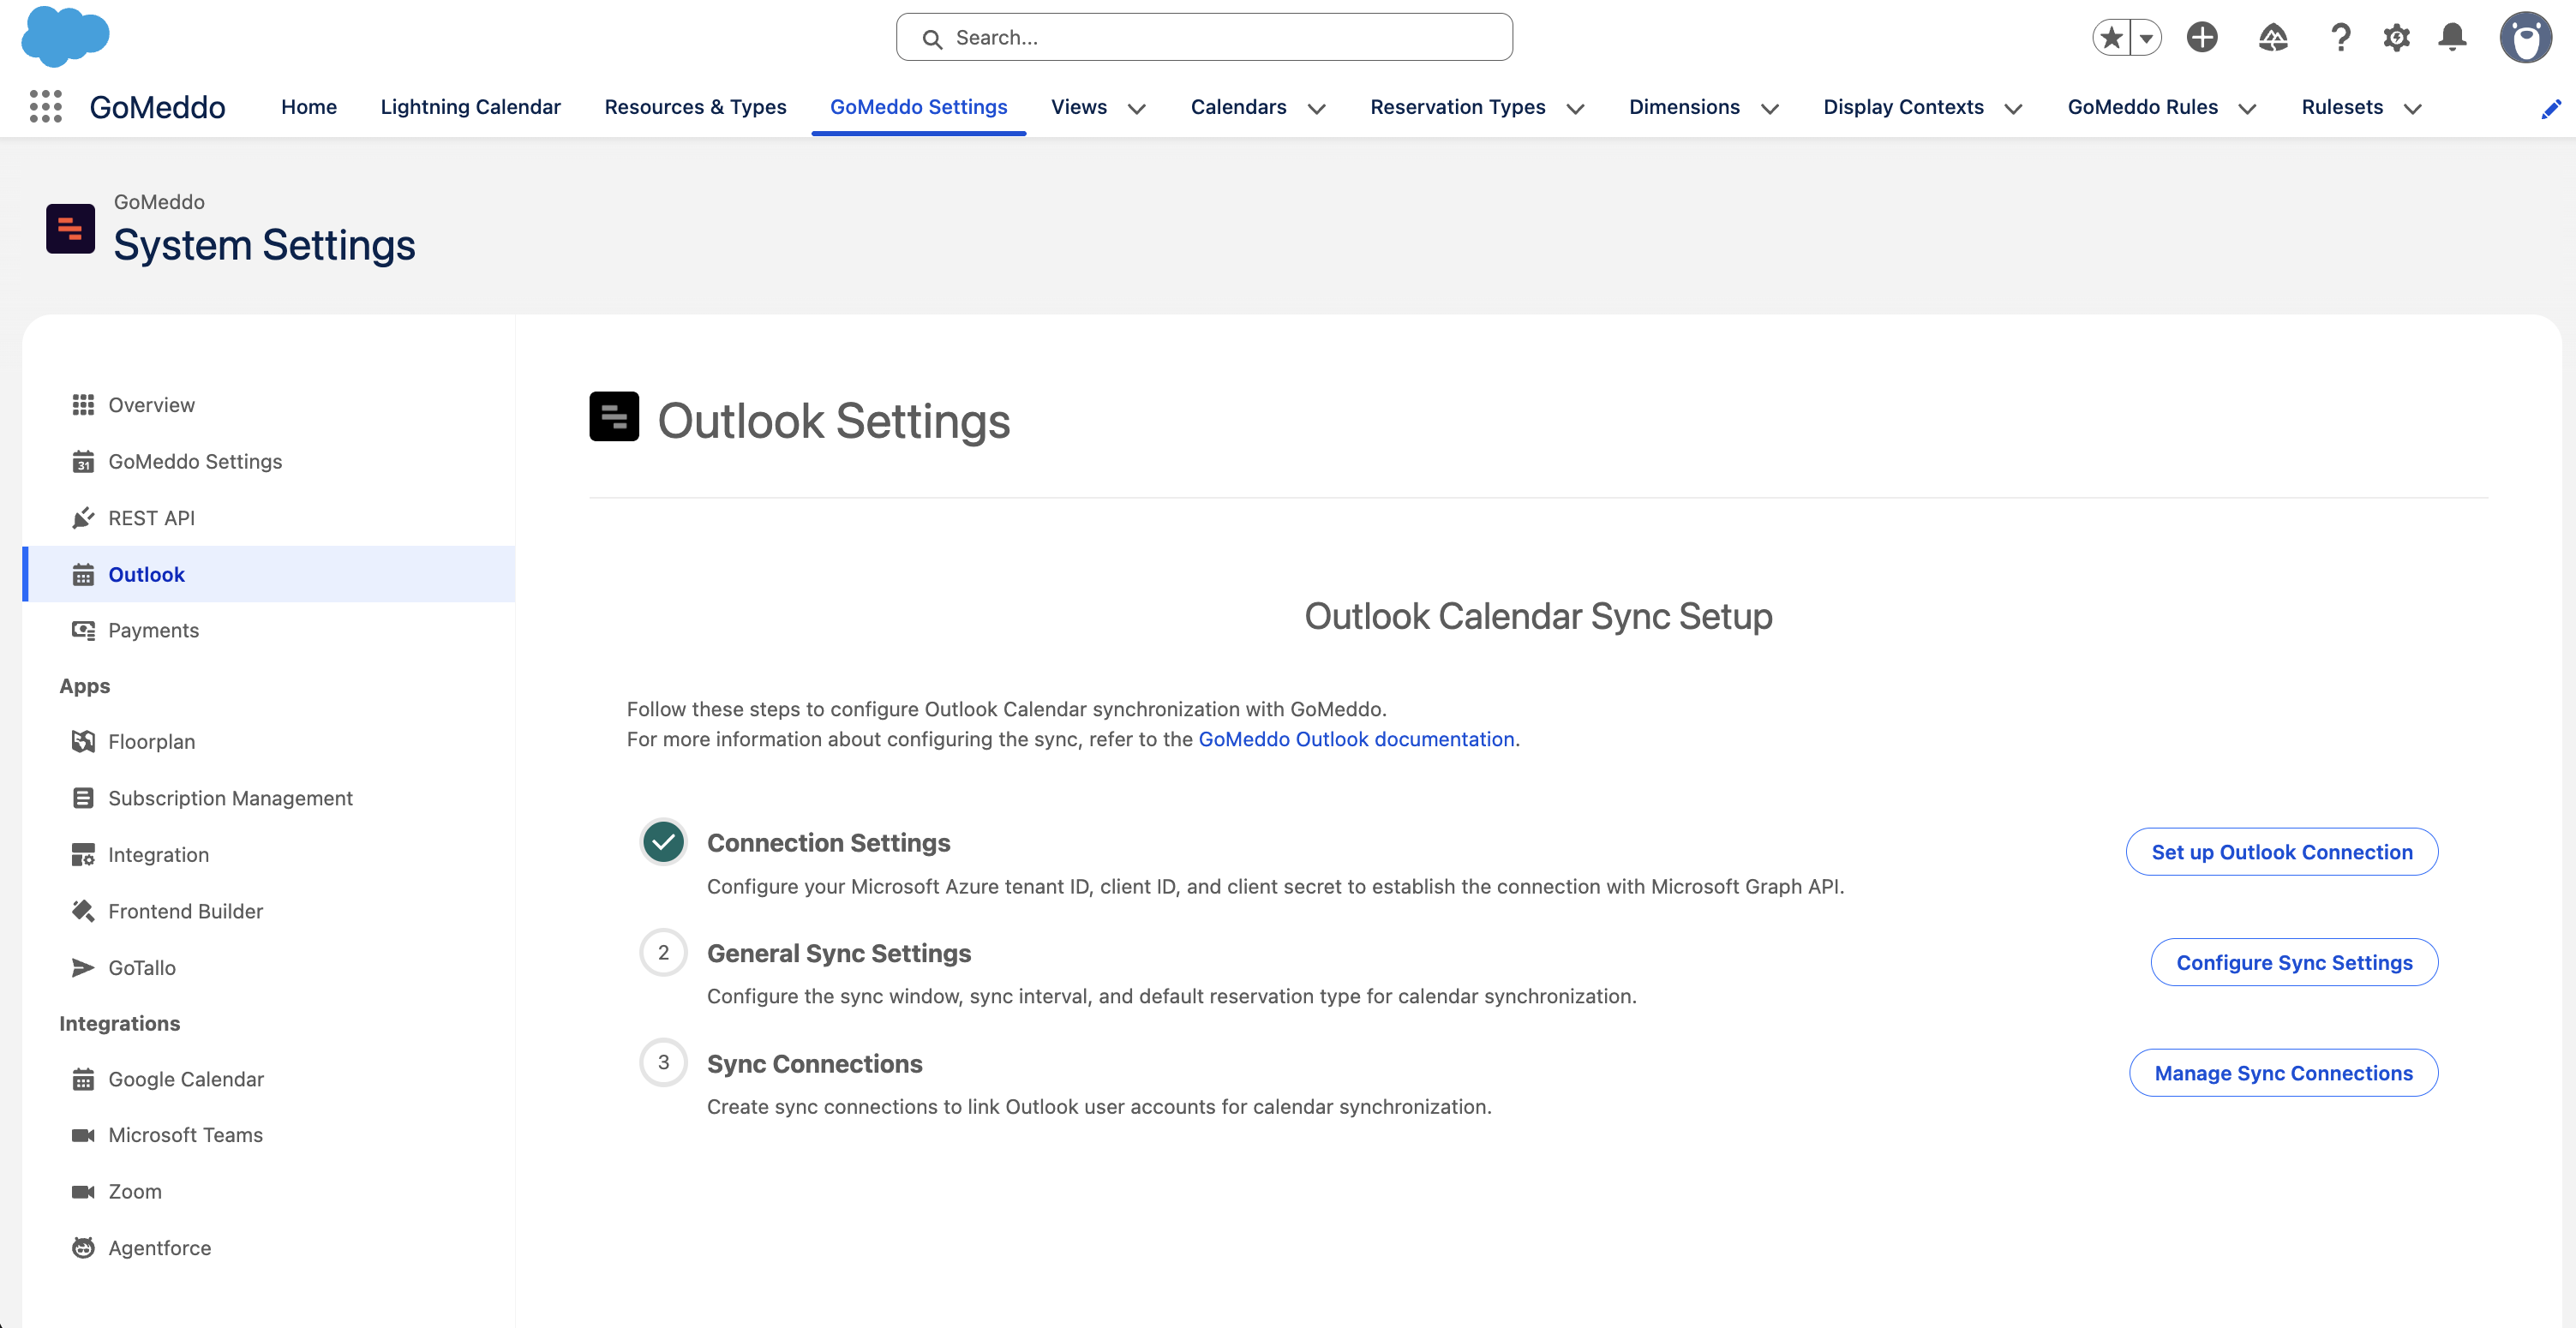
Next, we need to supply GoMeddo with the authentication information required. To do this, we will be switching back and forth between the GoMeddo Outlook Settings tab (App Launcher > GoMeddo > Settings > Outlook Settings) and the Azure Active Directory tab from the previous section.
All actions in GoMeddo wil be prefixed with (GoMeddo), and actions in Azure will be prefixed with (Azure).
-
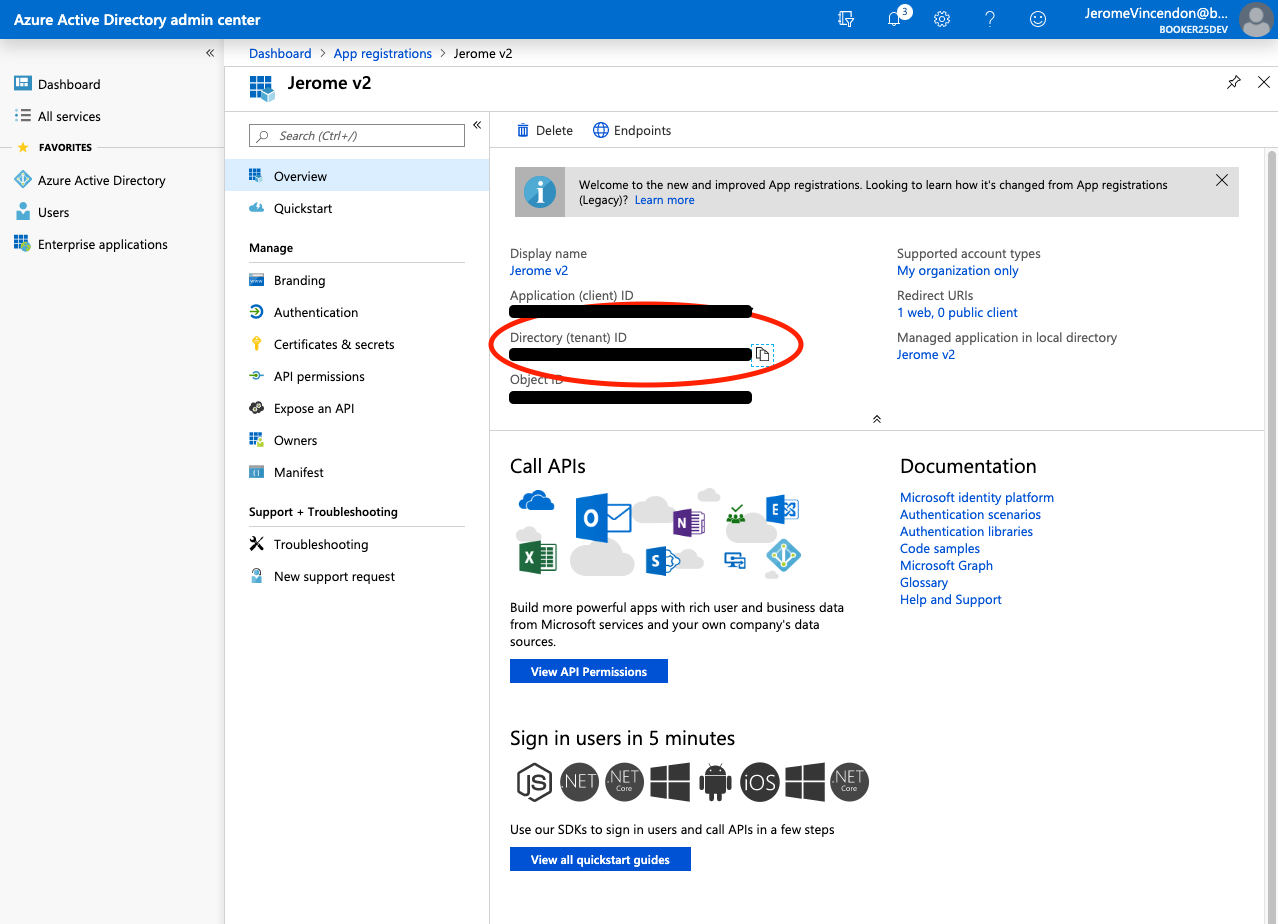
(Azure) Go to the Overview menu item of the app you just created
-
(Azure) Click the Copy icon next to Directory (tenant) ID
-
(GoMeddo) Paste the Directory (tenant) ID into the tenantId field on the Outlook Settings page and click Save tenant id
-
(Azure) Click the Copy icon next to the Application (client) ID
-
(GoMeddo) Paste the Application (client) ID into the clientId field and click Save client id
-
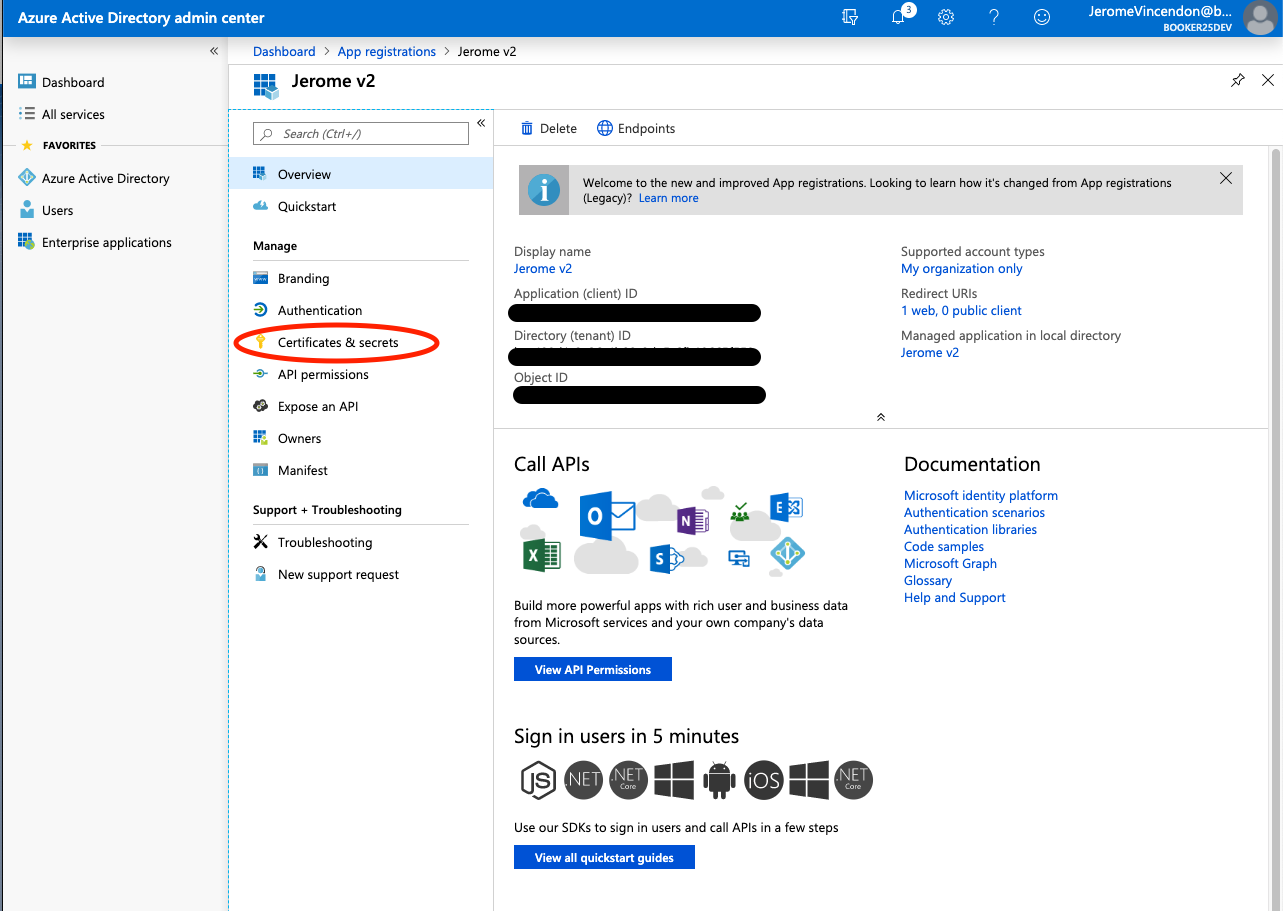
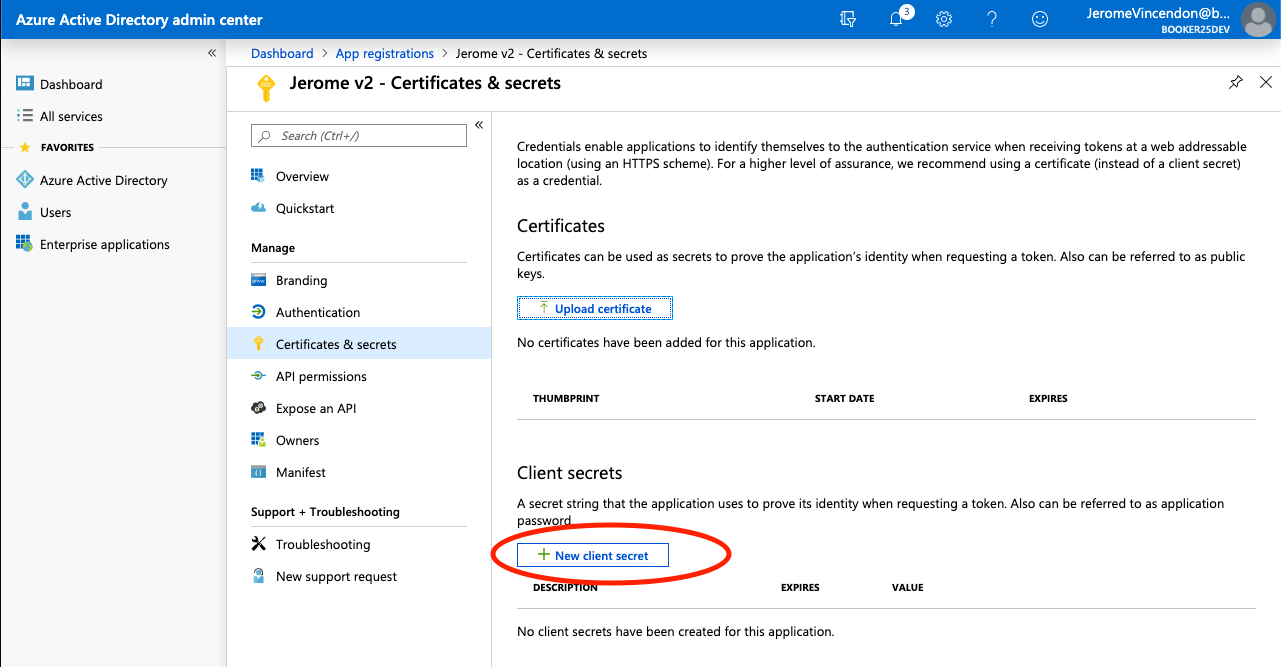
(Azure) Click on the Certificates & secrets menu item
-
(Azure) Click the New client secret button in the Client secrets section
-
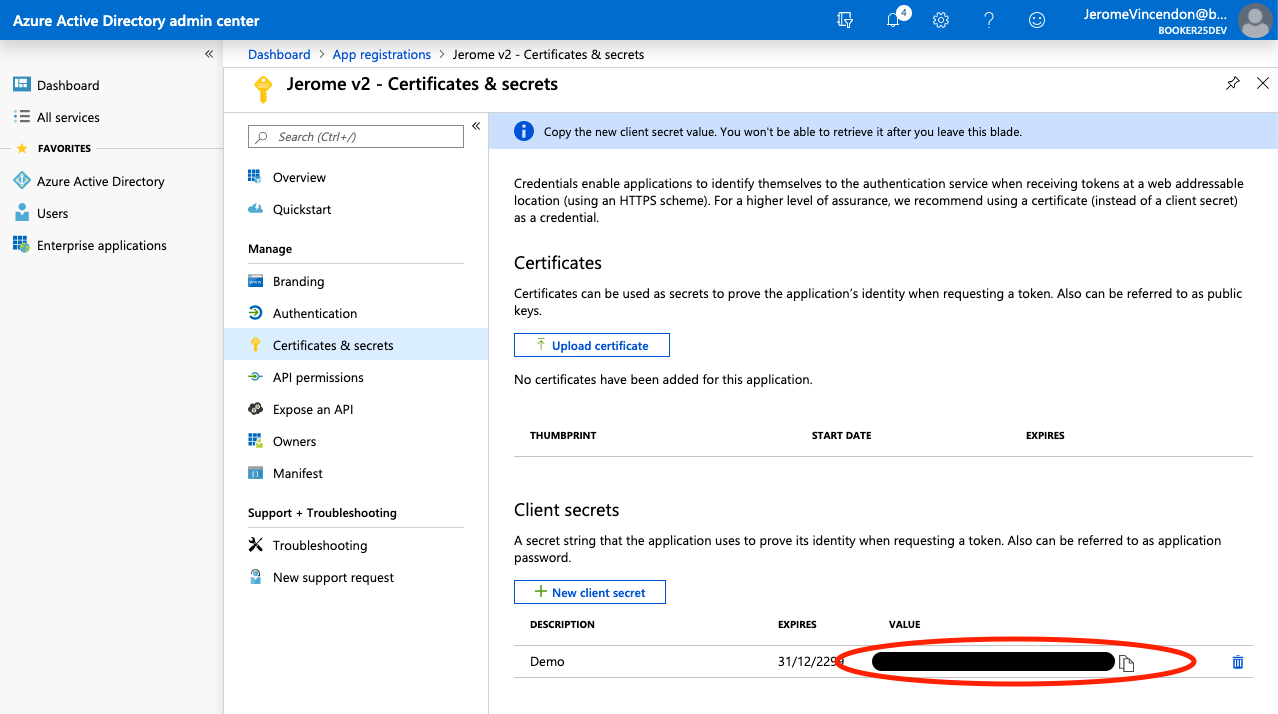
(Azure) Give the secret a description and choose an expiration time (Note: when the secret expires, the sync wil stop working until GoMeddo's secret is updated to a new value)
-
(Azure) Click the Copy icon next to the secret value
-
(GoMeddo) Paste the value into the clientSecret field and click the Save client secret button
-
(GoMeddo) Click the Grant Admin Consent button
-
A new tab wil open, asking you to log into your Office365 account
-
Accept the prompt to grant admin consent to the app you created
-
You should now be redirected to the GoMeddo Settings page (you may need to re-login to Salesforce). The Outlook Settings tab should now look like this
Sync Dimension records
-
You can now proceed to setting up Dimension records for syncing: Connect Dimension records to Outlook calendars