
Hover Definitions let you customize the popup that users see when they hover over a reservation on the calendar. The popup can show fields and related lists.
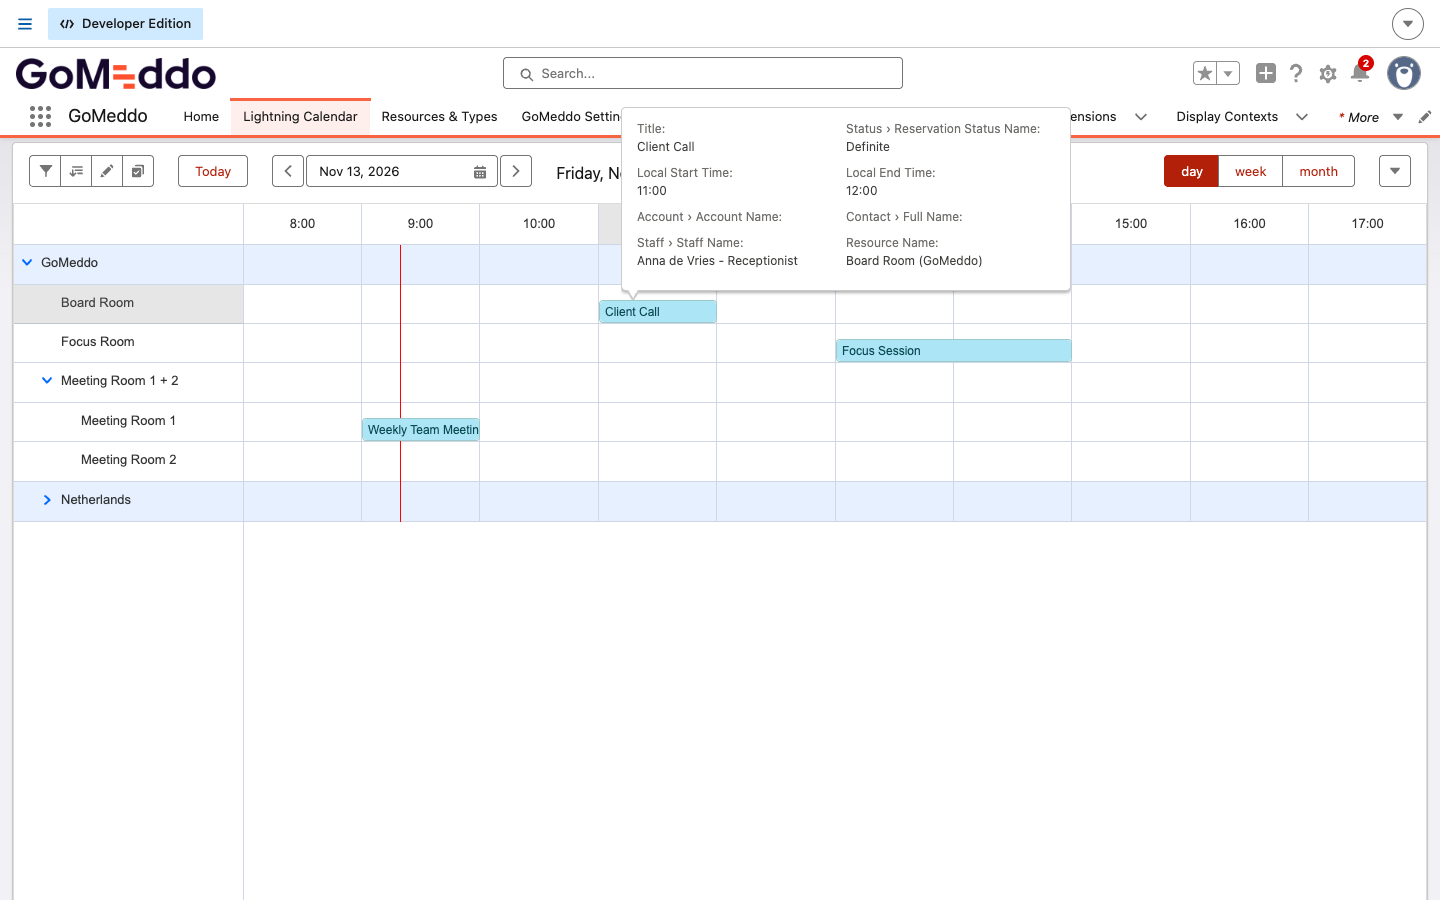
Find the Hover Definition to edit
-
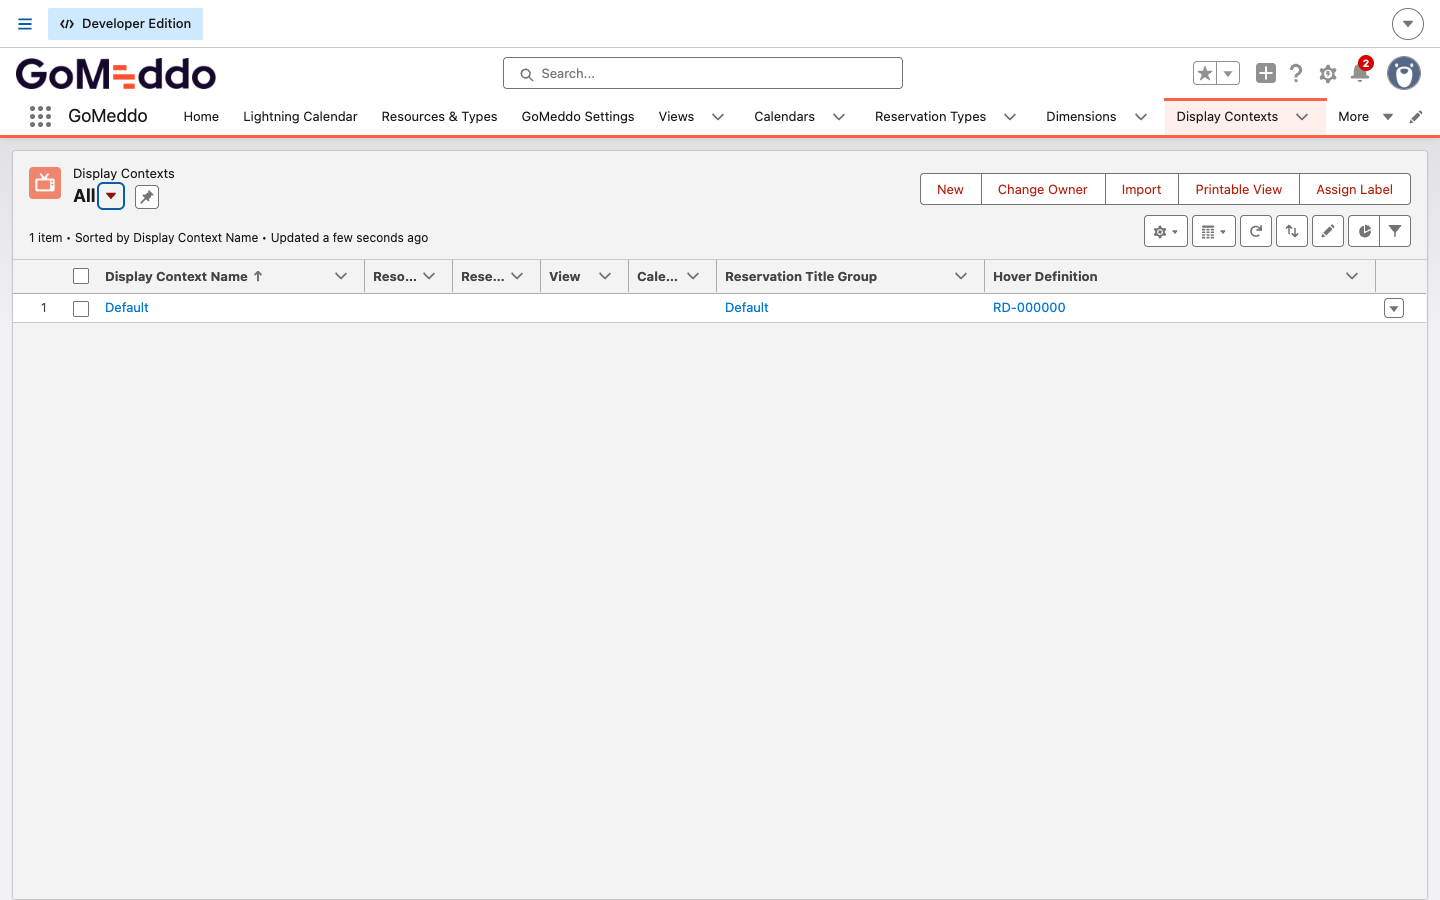
Go to the Display Contexts tab.
-
Select the All list view and find the row you want to edit the hover for.
By default there is only one row in the Reservation Display Context list. If there are multiple and you're not sure which one to edit, check out this article for an explanation of how contexts are applied to reservations.
-
On that row, click the record name in the Hover Definition column.
-
On the Hover Definition Editor tab, click New Hover Field to add a field, or New Related List to add a related list.

-
Click Save.
The Hover Definition column in the All list view looks like this:
GoMeddo also stores the hover fields and related lists as records under the Hover Definition.
To add them as records instead, go to the Related tab of the Hover Definition record and create Hover Fields and Related Lists records.

Add Dynamic Flow Hover Fields
With Dynamic Flow Hover Fields, a Flow calculates a value to show on the hover, using data from the calendar where the Display Context is used. Dynamic Flow Hover Fields are primarily intended for Resource Display Contexts, but you can also use them with Reservation Display Contexts.
Create the Flow
-
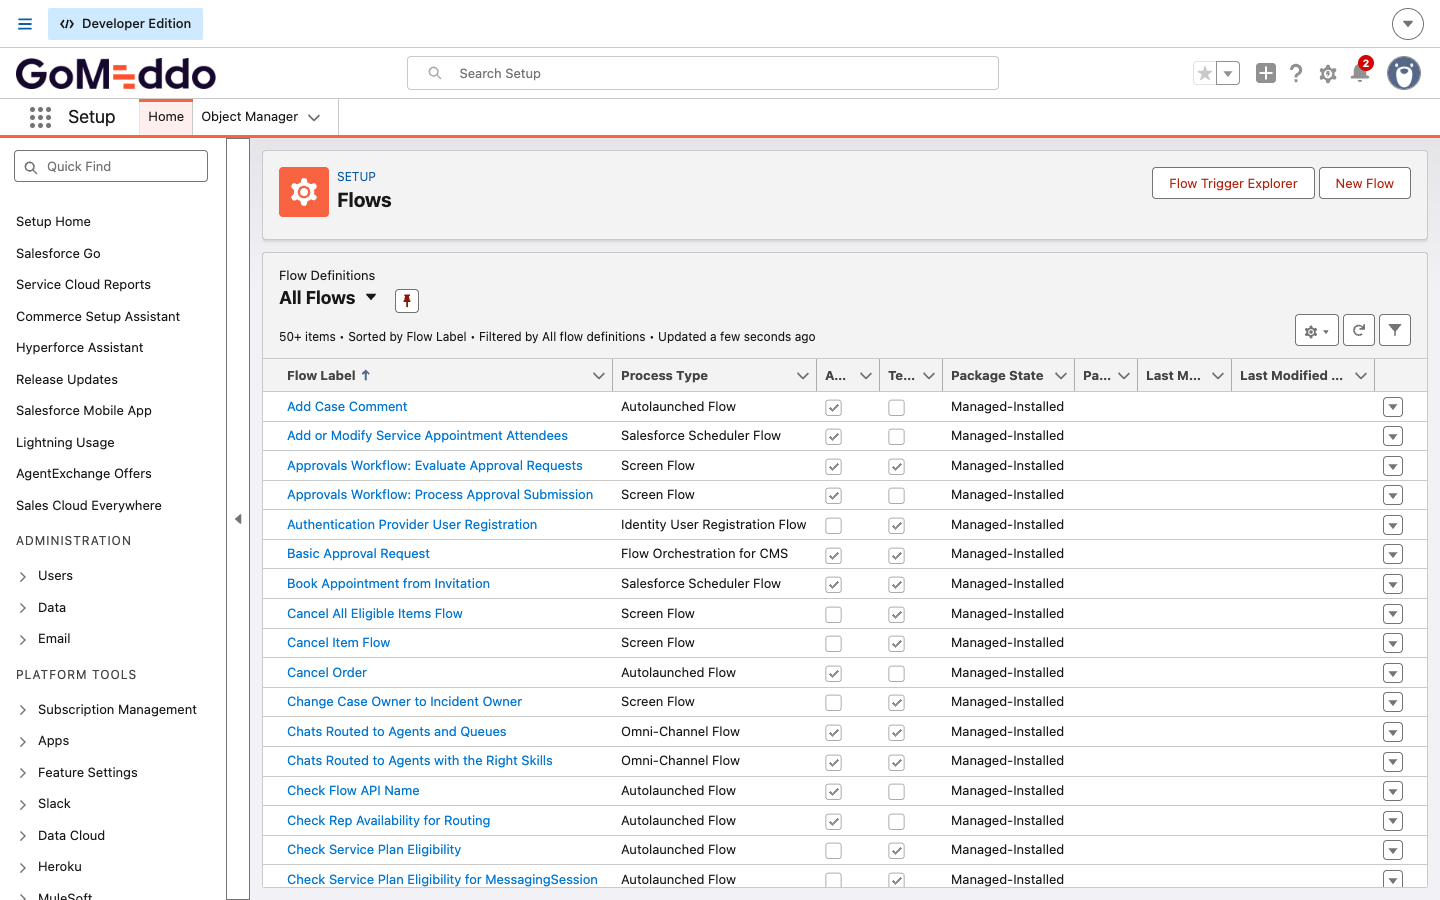
In Salesforce Setup, go to Process Automation > Flows and click New Flow.
-
Search for
Dynamic Hoverand select the GoMeddo - Template - Autolaunched flow - Default Dynamic Hover Fields template.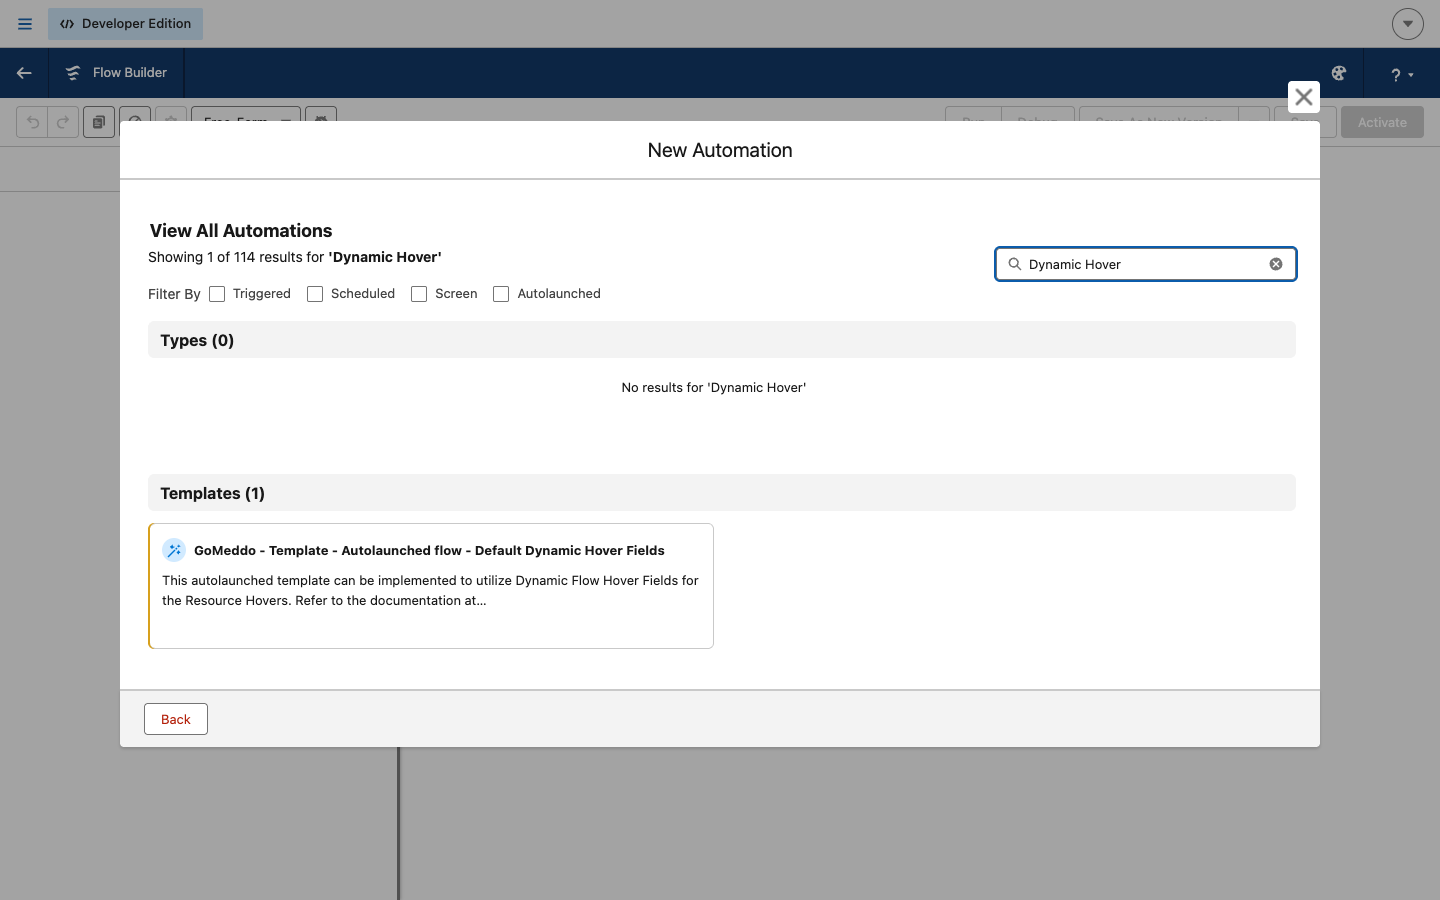
-
Build the Flow with the data that is available for the resource the hover is displayed for. The Flow has the following input variables:
-
recordId: the Id of the record being hovered. -
startDate: the date and time at which the currently selected view on the calendar starts. -
endDate: the date and time at which the currently selected view on the calendar ends. -
viewName: the name of the currently selected view on the calendar. -
reservationIds: for hovers over dimensions (such as resources), the Ids of all reservations displayed on that row of the calendar. For hovers over reservations, only the Id of the reservation being hovered over.
-
Store the result of the Flow in the variable outputField. GoMeddo displays the value of this variable on the hover.
Create the Dynamic Flow Hover Field
Now that you have a valid Flow, create the Dynamic Flow Hover Field:
-
Go to the Hover Definition record and open the Related tab. In the top right corner of the Hover Fields related list, click New.

-
Select Dynamic Flow Hover Field and click Next.

-
In Hover Field Name, enter a name of your choice. In Flow Name, enter the API name of the Flow you want to use.

-
In Order, enter a number. The lower the number, the higher the field appears in the hover popup.
-
Optionally, enter a Label. GoMeddo shows it in front of the field value in the hover popup. If you leave this field empty, the API name of the Flow is used.

-
Click Save.